

Our dashboard is easy-to-use with features that let you create users, trips, geofences etc at the click of a button. So, in this short and informative blog we're going to guide you through how to get started with our dashboard and creating a Roam Around project.
Follow the below steps to set up your Roam Dashboard. Or don't. But then why are you here? Exactly, go ahead:
Step 1 - Open the roam dashboard and create an account.
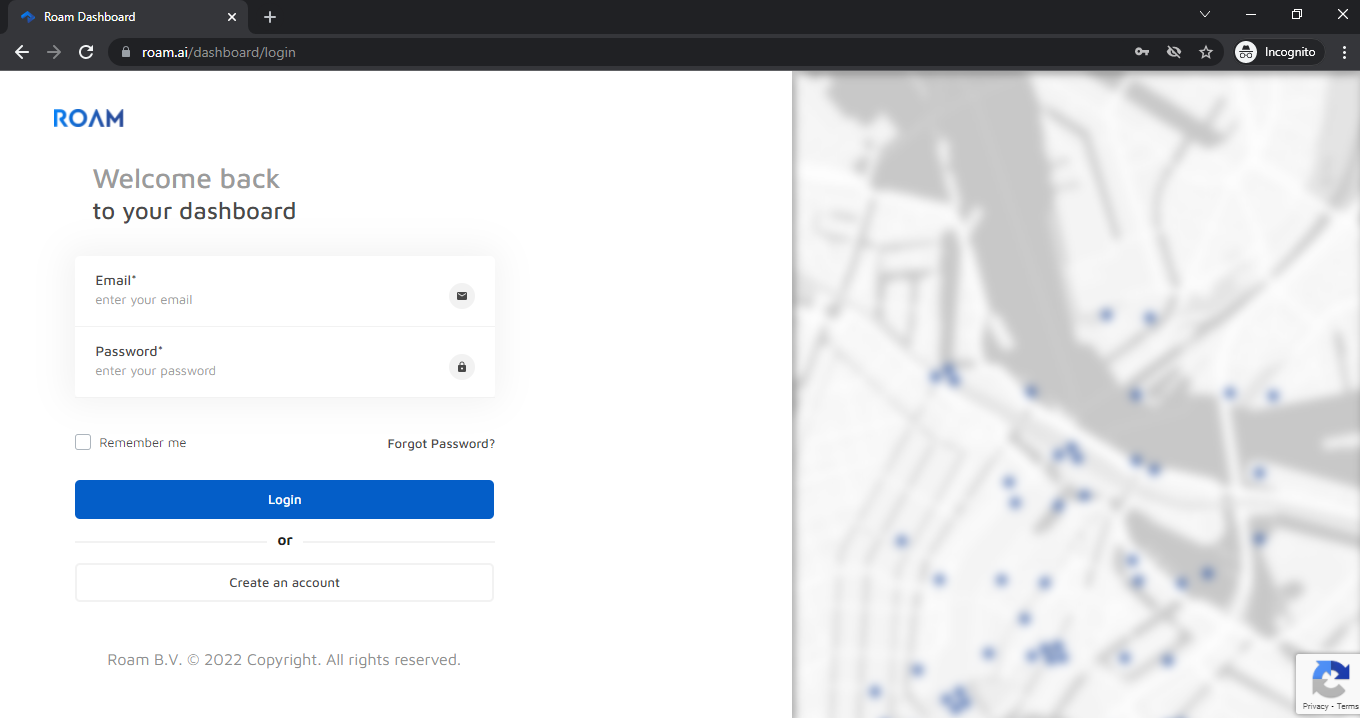
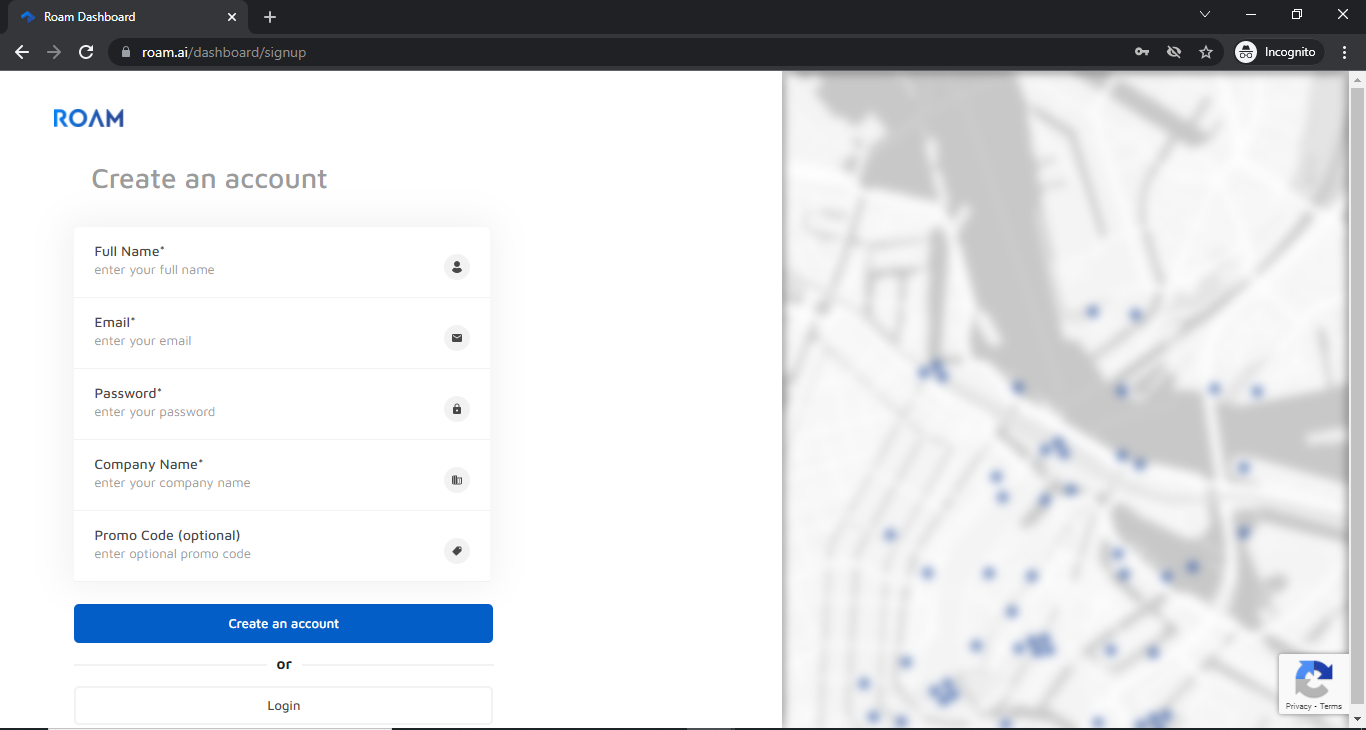
Step 2 - Click on the create an account button and fill in the details to create an account.
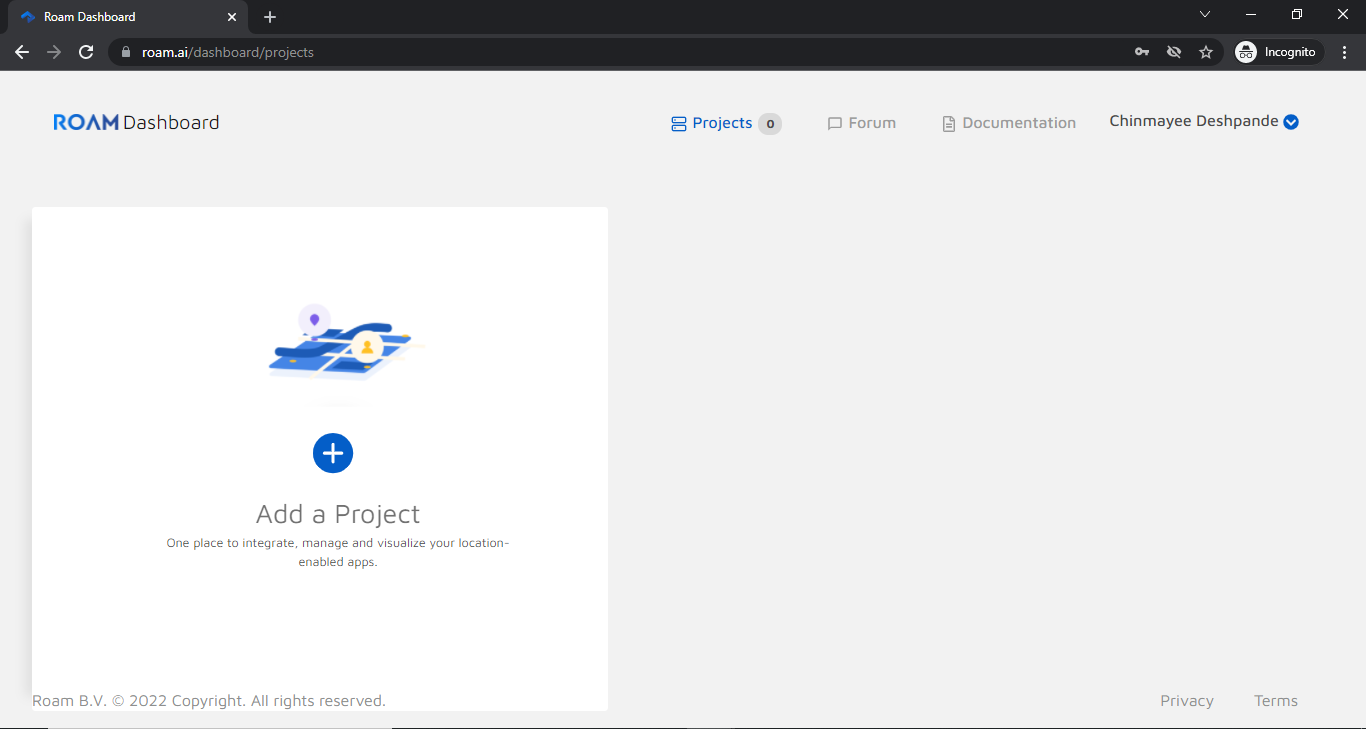
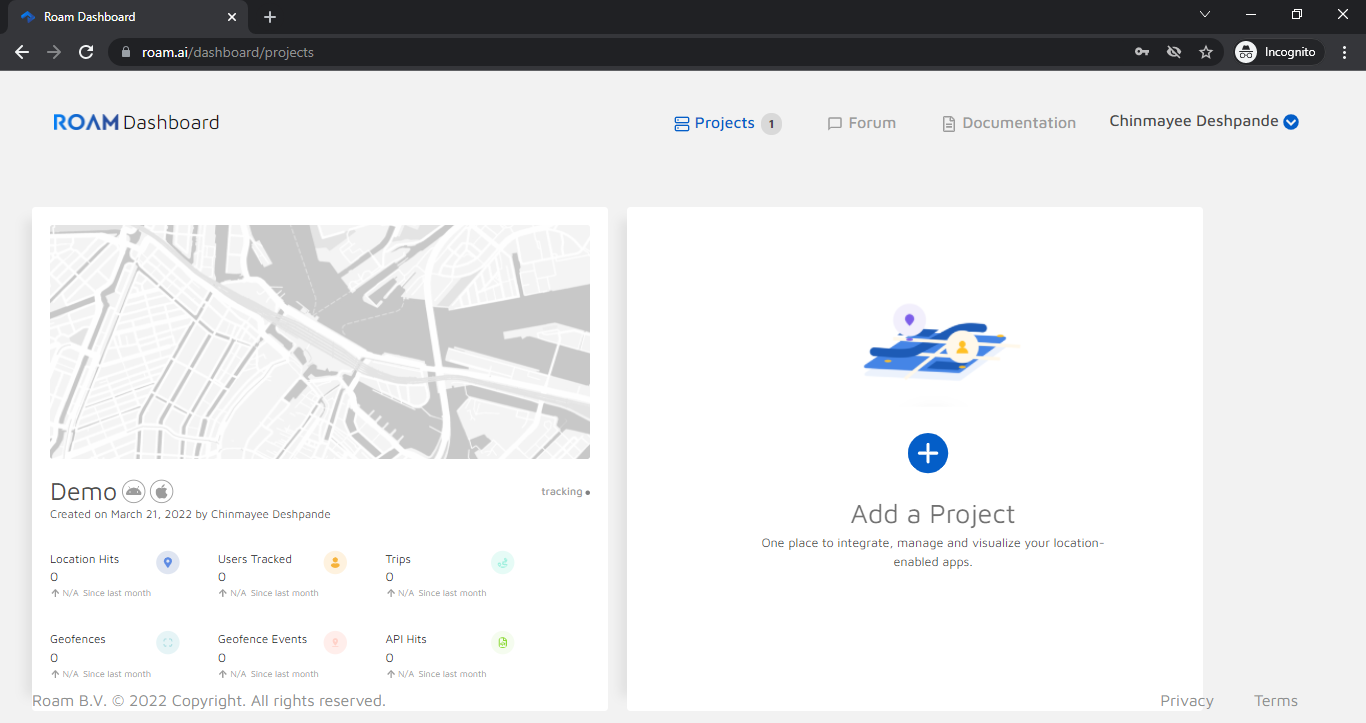
Step 3 - Click the “Add Project” option to create your first project.
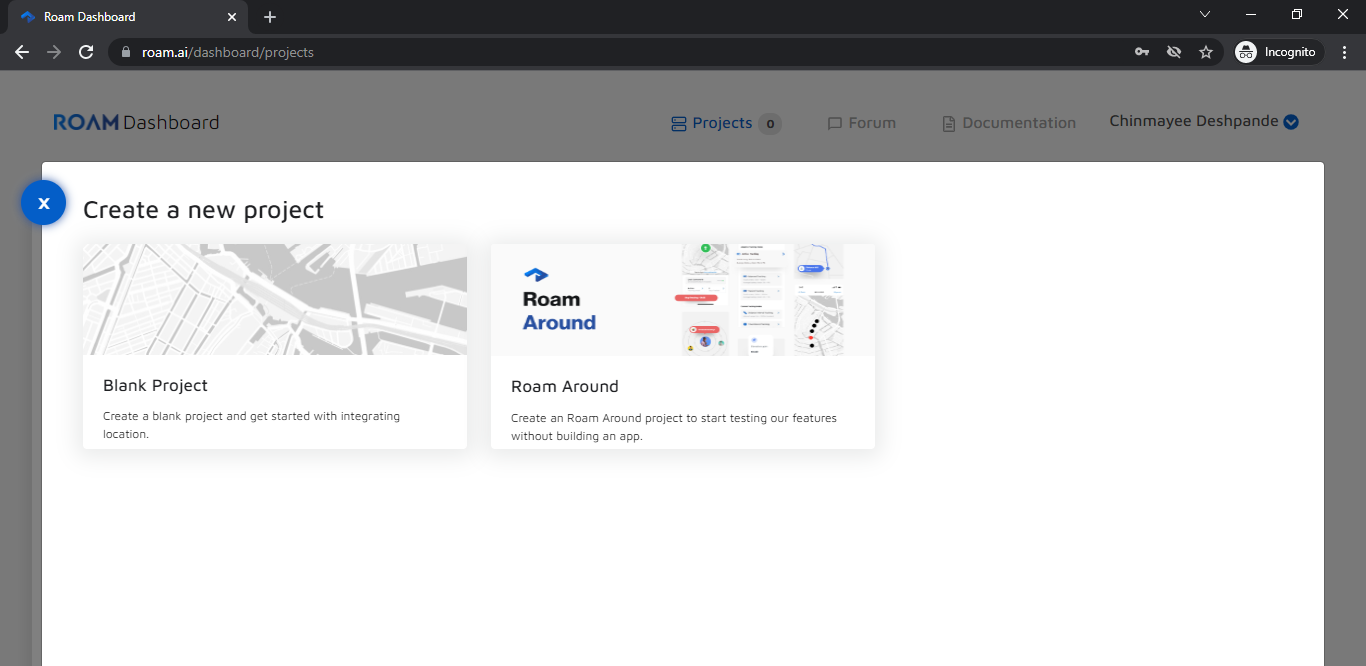
Click on the Roam Around option
Step 4 - Provide a name of your choice and hit continue

Your project is now created! Click on Done.
You can also download the Roam Around app from the play/app store to start tracking your location.
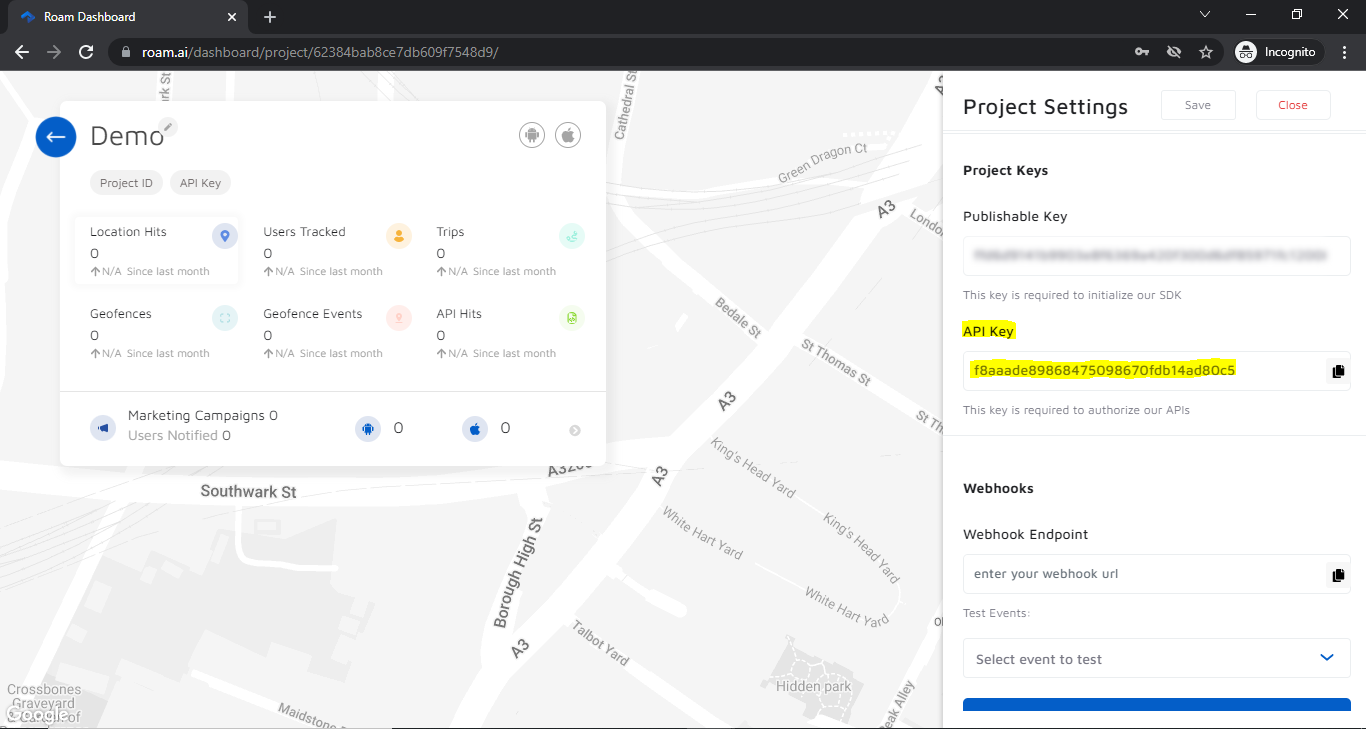
Step 5 - Click anywhere on the created project to get information about it.

On the top right-hand corner, click on the Settings icon to get Project details.
Scroll down to get your API Key.
And Voila! You've set your Roam Dashboard! [virtual high-five]. You can now explore all of its features and start testing our Location SDK and APIs. The dashboard will be your central hub for everything related to Roam, including your billing and account information if you decide to purchase a plan.
Ready to take the next steps?
Thank you for reading! If you're interested in seeing our product in action, get in contact with our team. Or, if you're ready to get started, you can sign up here to start using our SDK and APIs today.