How to set up Roam Around
Step 1: Setting up the User dashboard
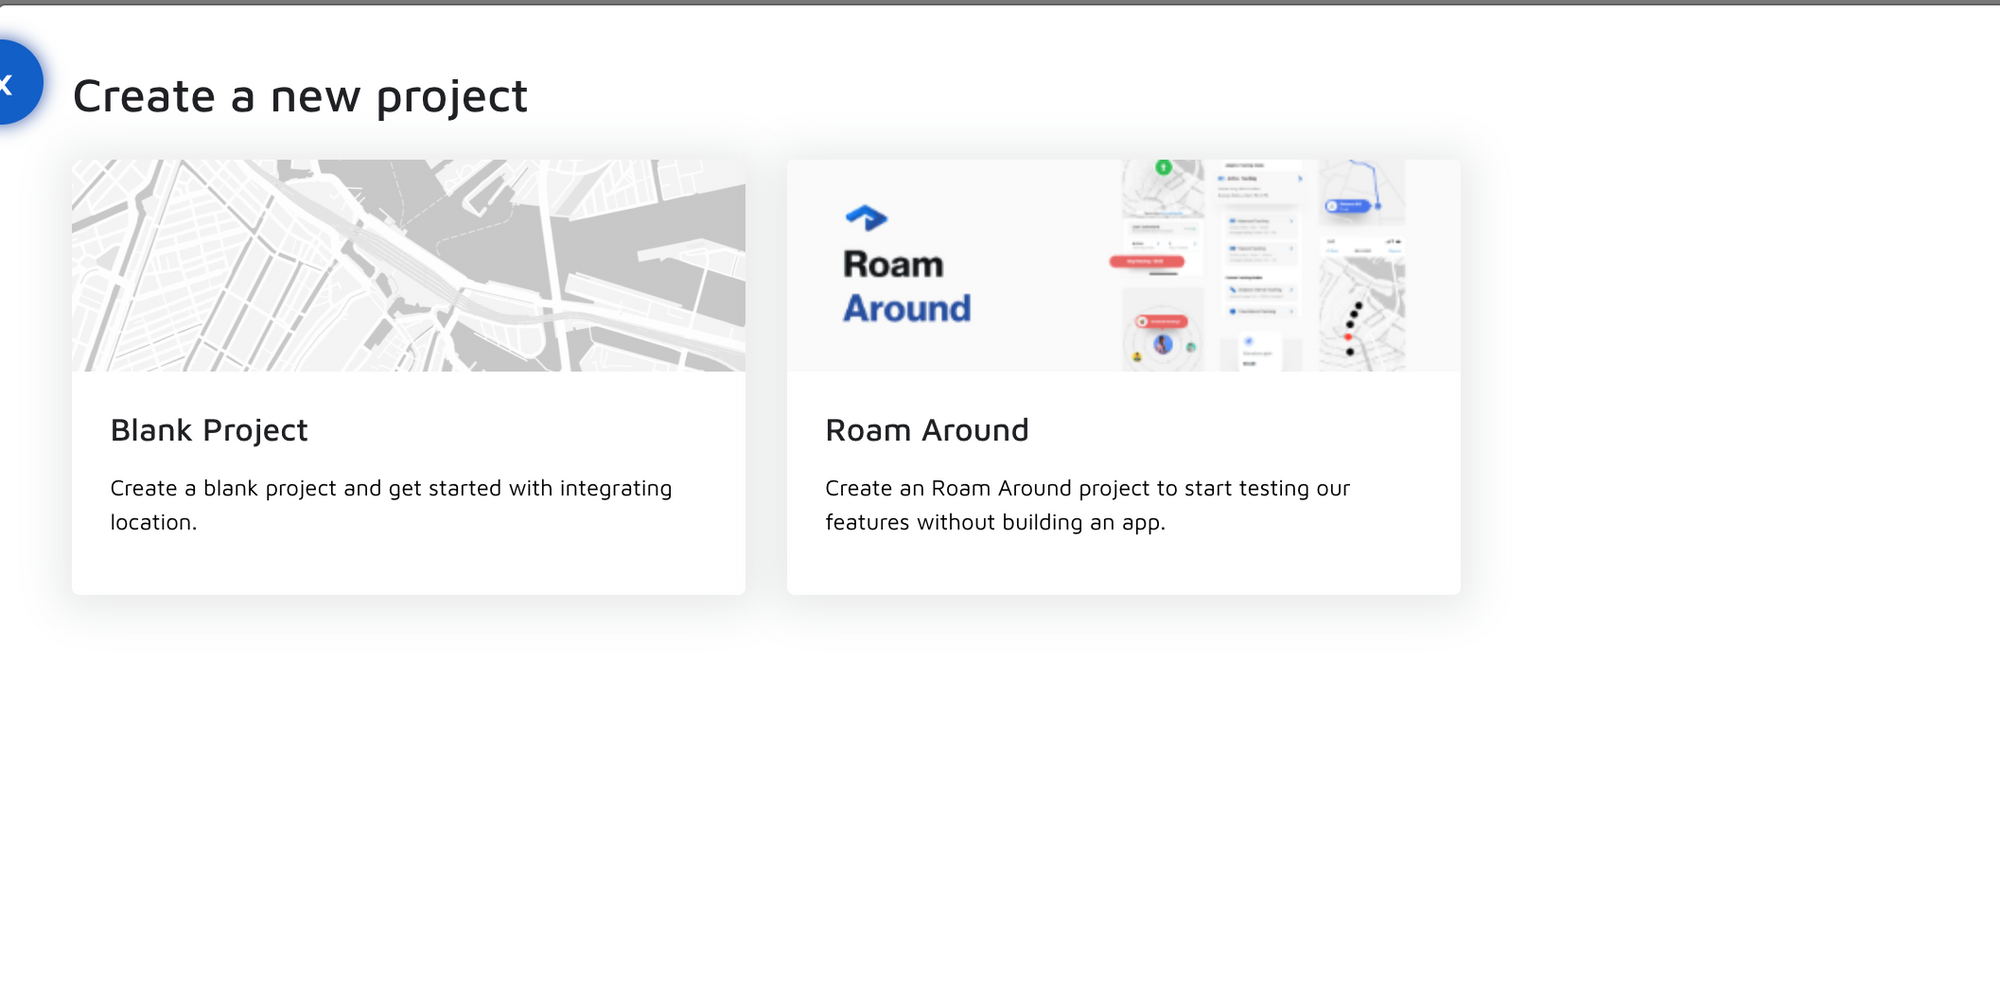
Create a project on the dashboard:
After creating your account, on the main dashboard page select "add a project" and choose Roam Around.
You'll be brought to the following window where you will enter a project name:
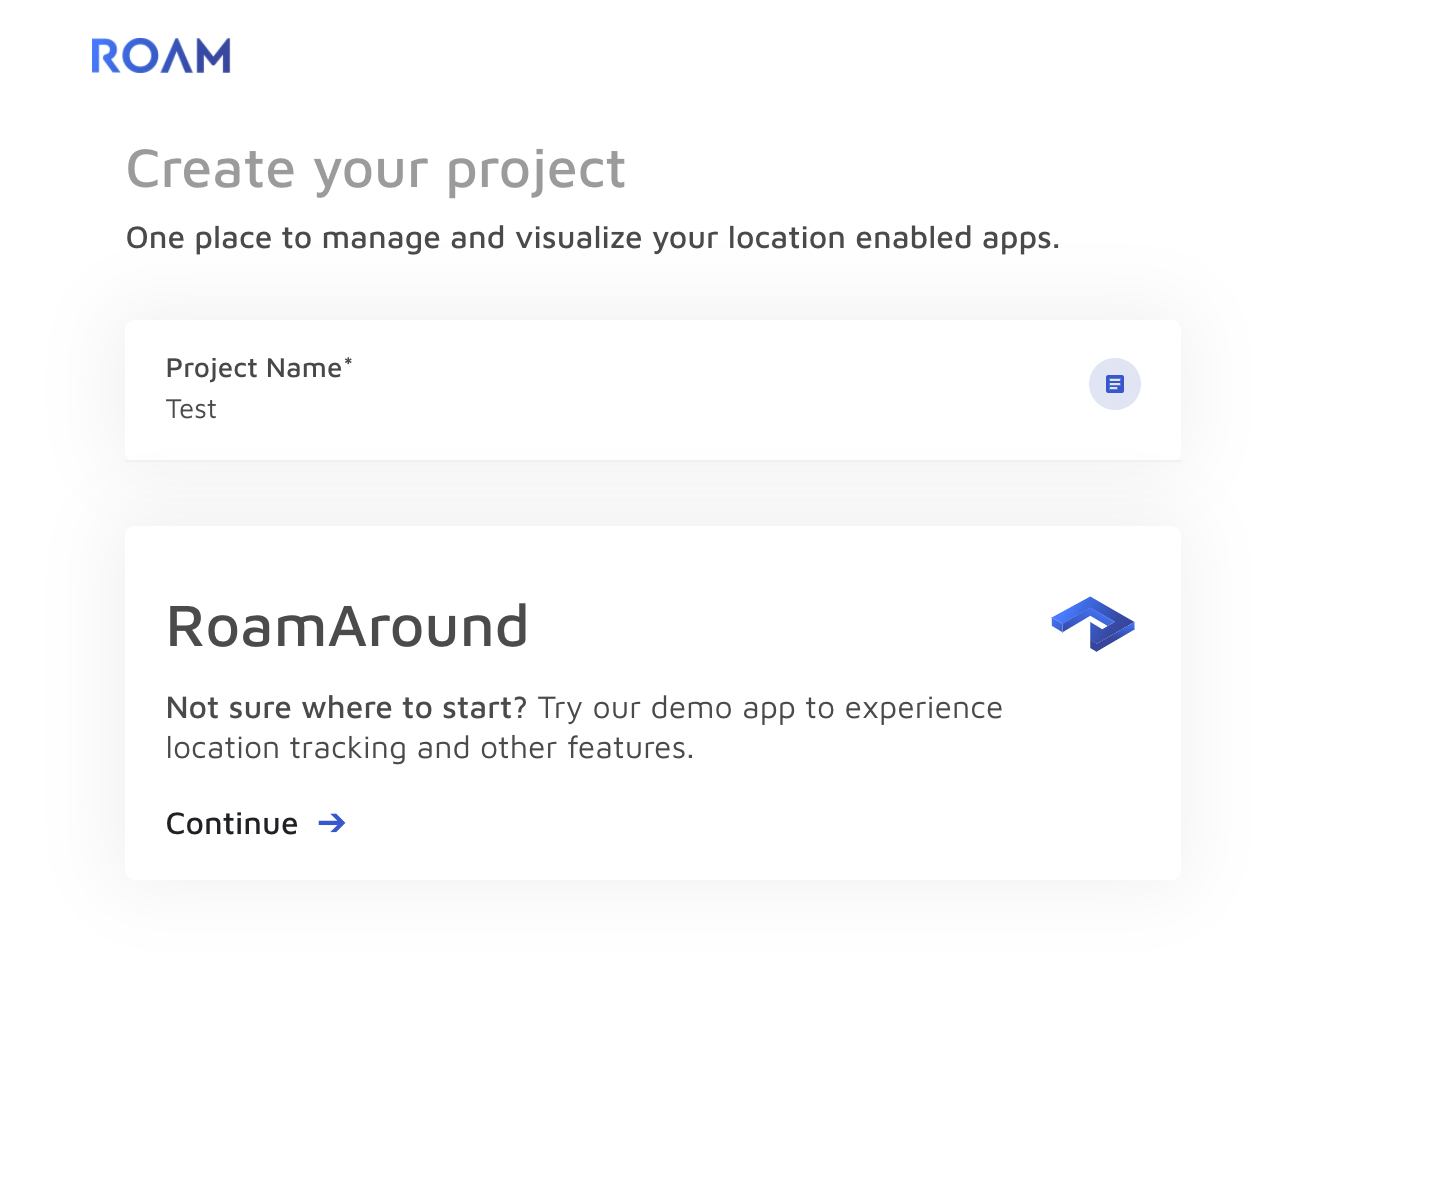
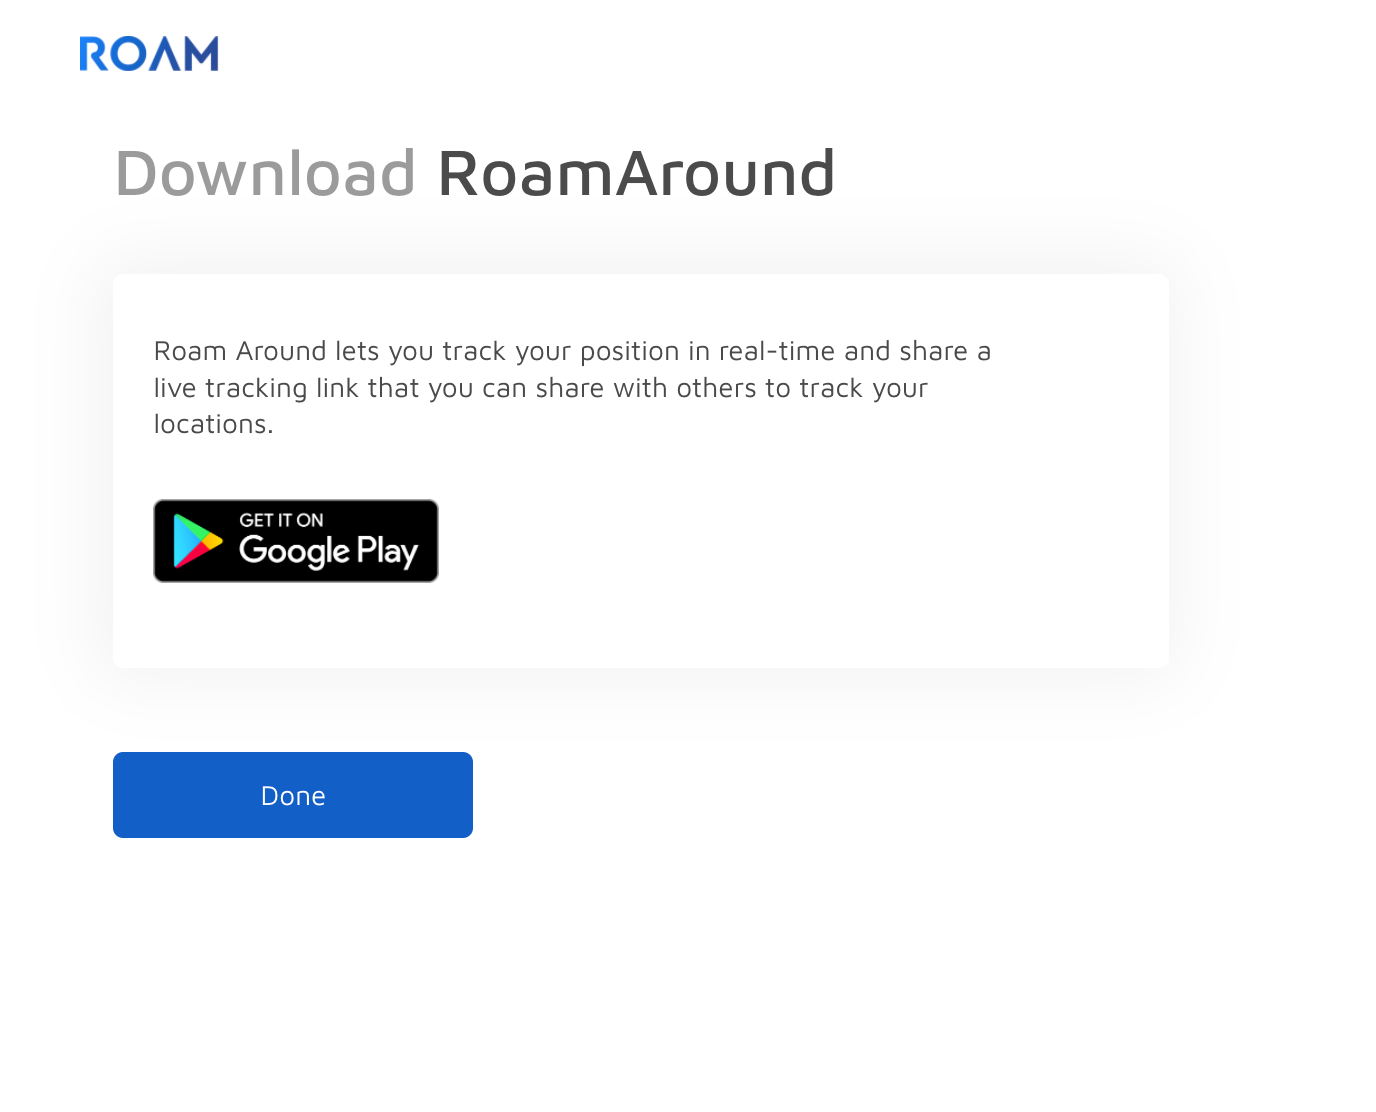
Once you've created a project, the following page will give you the chance to download Roam Around on your mobile device.
Create users
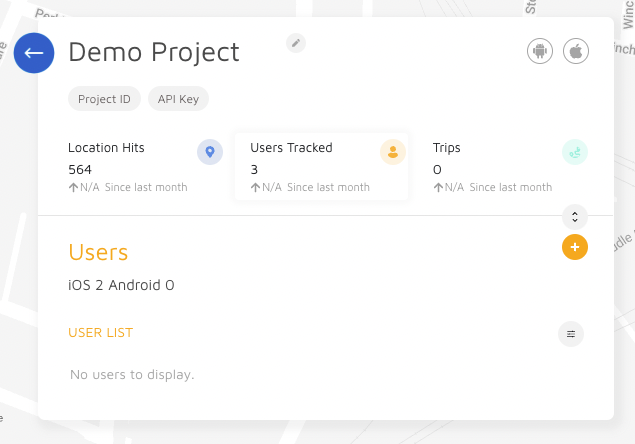
After Roam Around is downloaded and the project created, enter your project and click on Users Tracked. From there, you will see a plus icon, which will enable you to create user IDs.
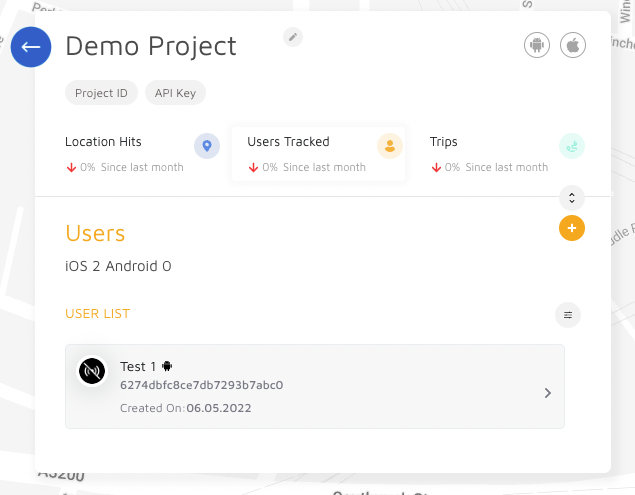
You can now start creating as many users as you need, giving each user a specific name. Once done, you will see the newly created user IDs under the User List. Below the user name you will see an alphanumerical combination, that is the User ID, which you will need for the next step.
Step 2: Download the Roam Around app
Downloading the app:
In step 1 you'll have seen the option to download the app when creating the project on the Roam dashboard. If you have not done that yet, you'll have to first download the Roam Around app on the Apple or Google Play Store
Link for iOS: Coming soon!
Google Play store link for Android
Pasting the user ID in the app
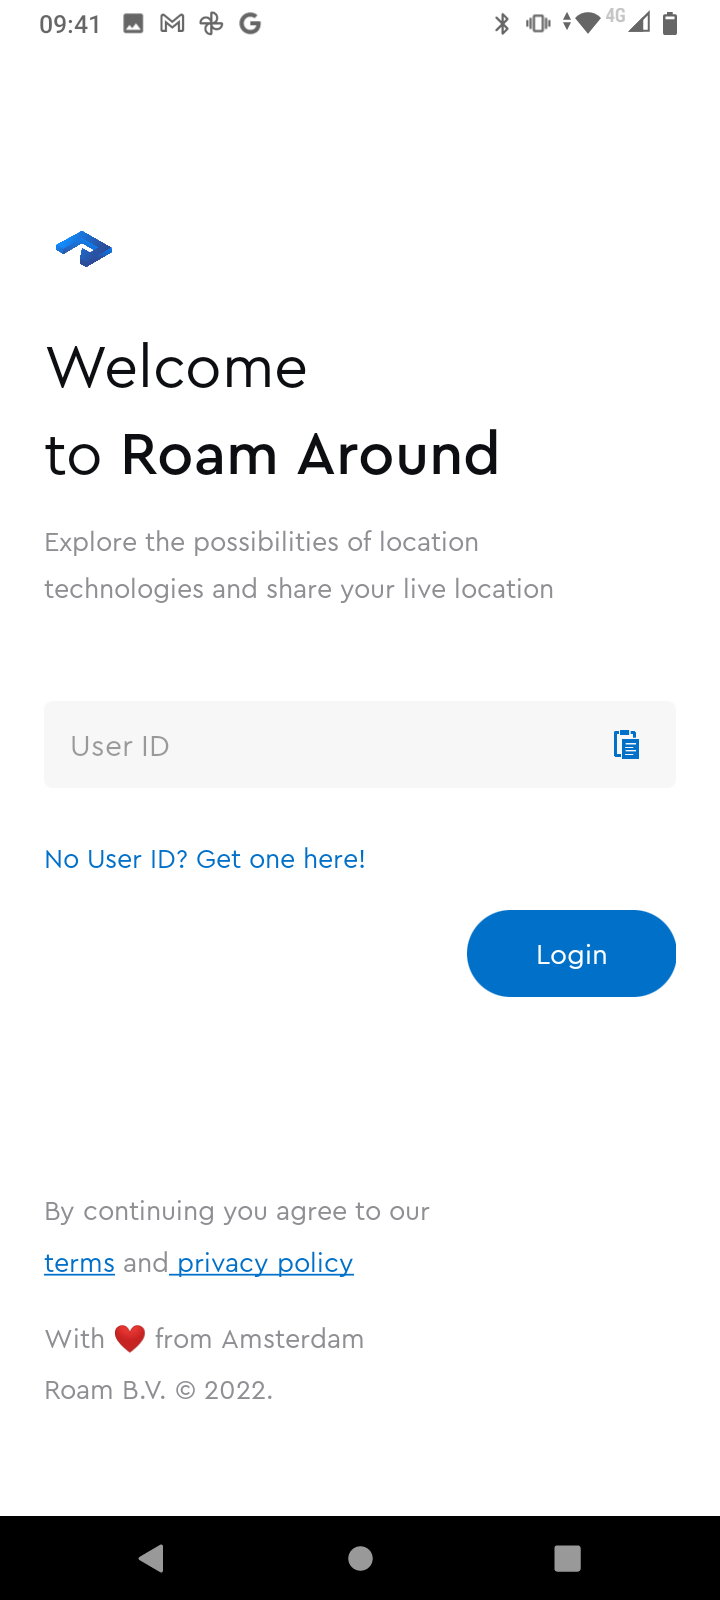
Once the app is downloaded, paste the user ID you've created to log in (the alphanumerical combination)
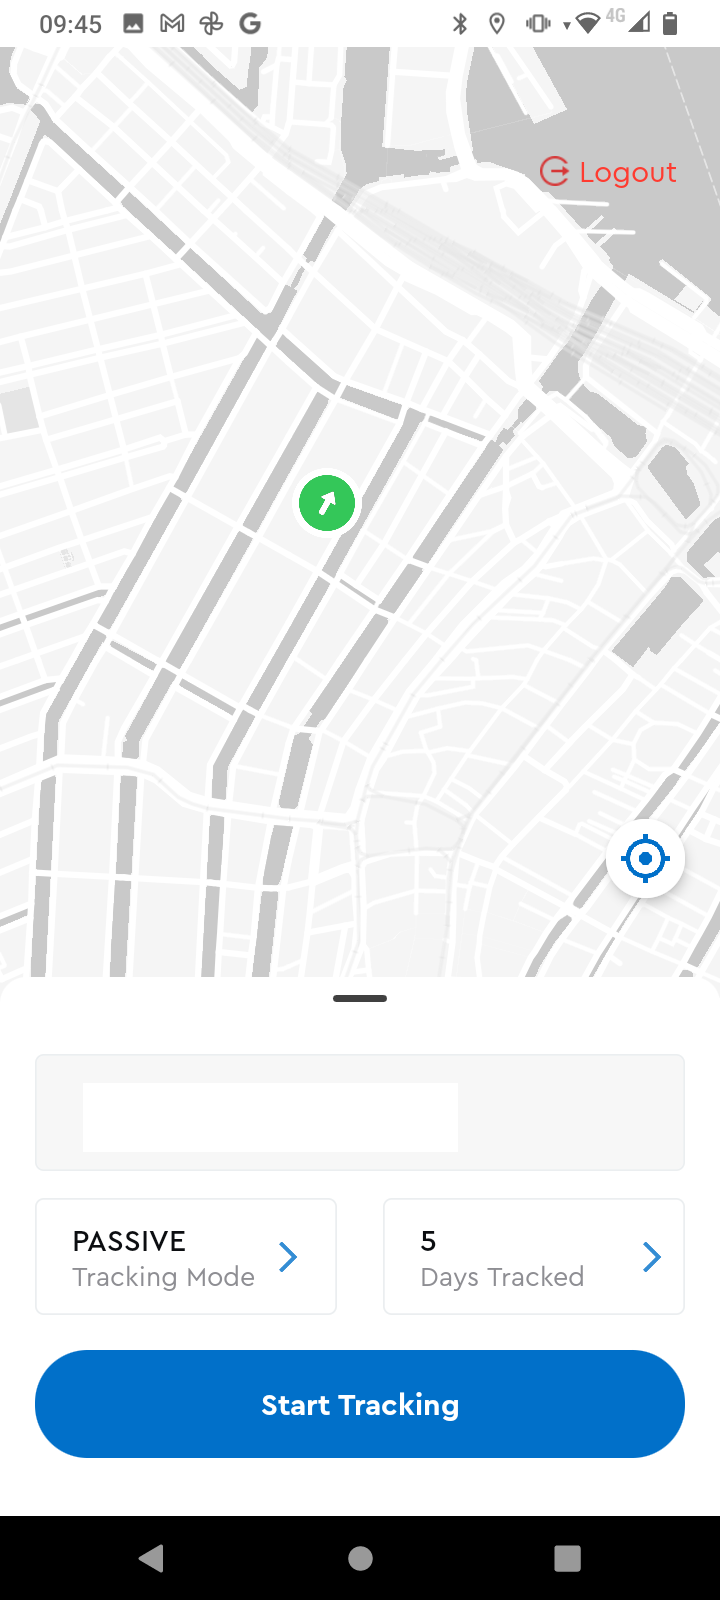
Step 3: Start tracking
Select a tracking mode
To start tracking select one of three tracking modes available: active, balanced, or passive. You also have the option to customize whether you want your intervals tracked in distance or time:
Allow permissions
For the precise location tracking to work you'll need to enable tracking on "always" (iOS) or "always allow" (Android) on the app. This can be done after you have selected "allow" (see below)
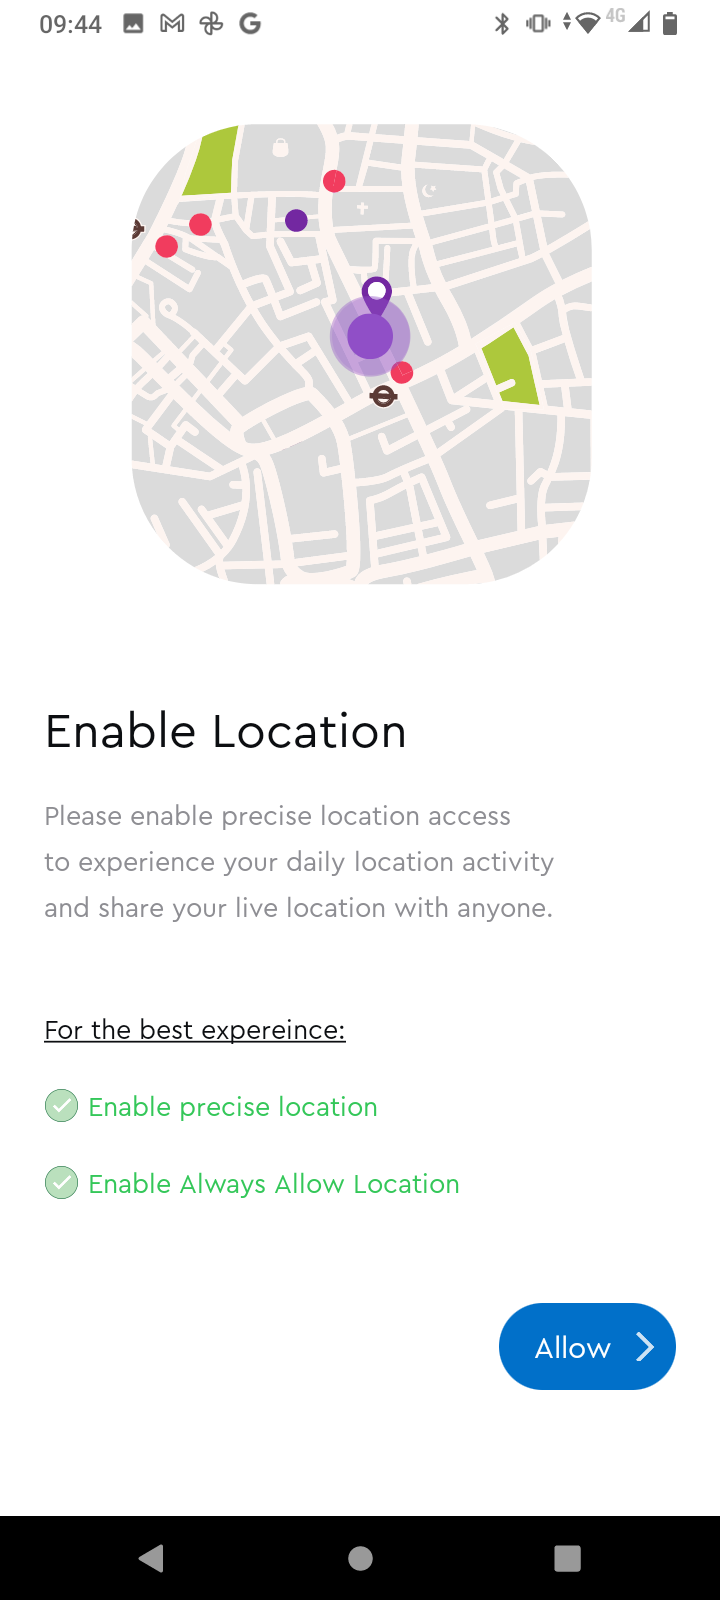
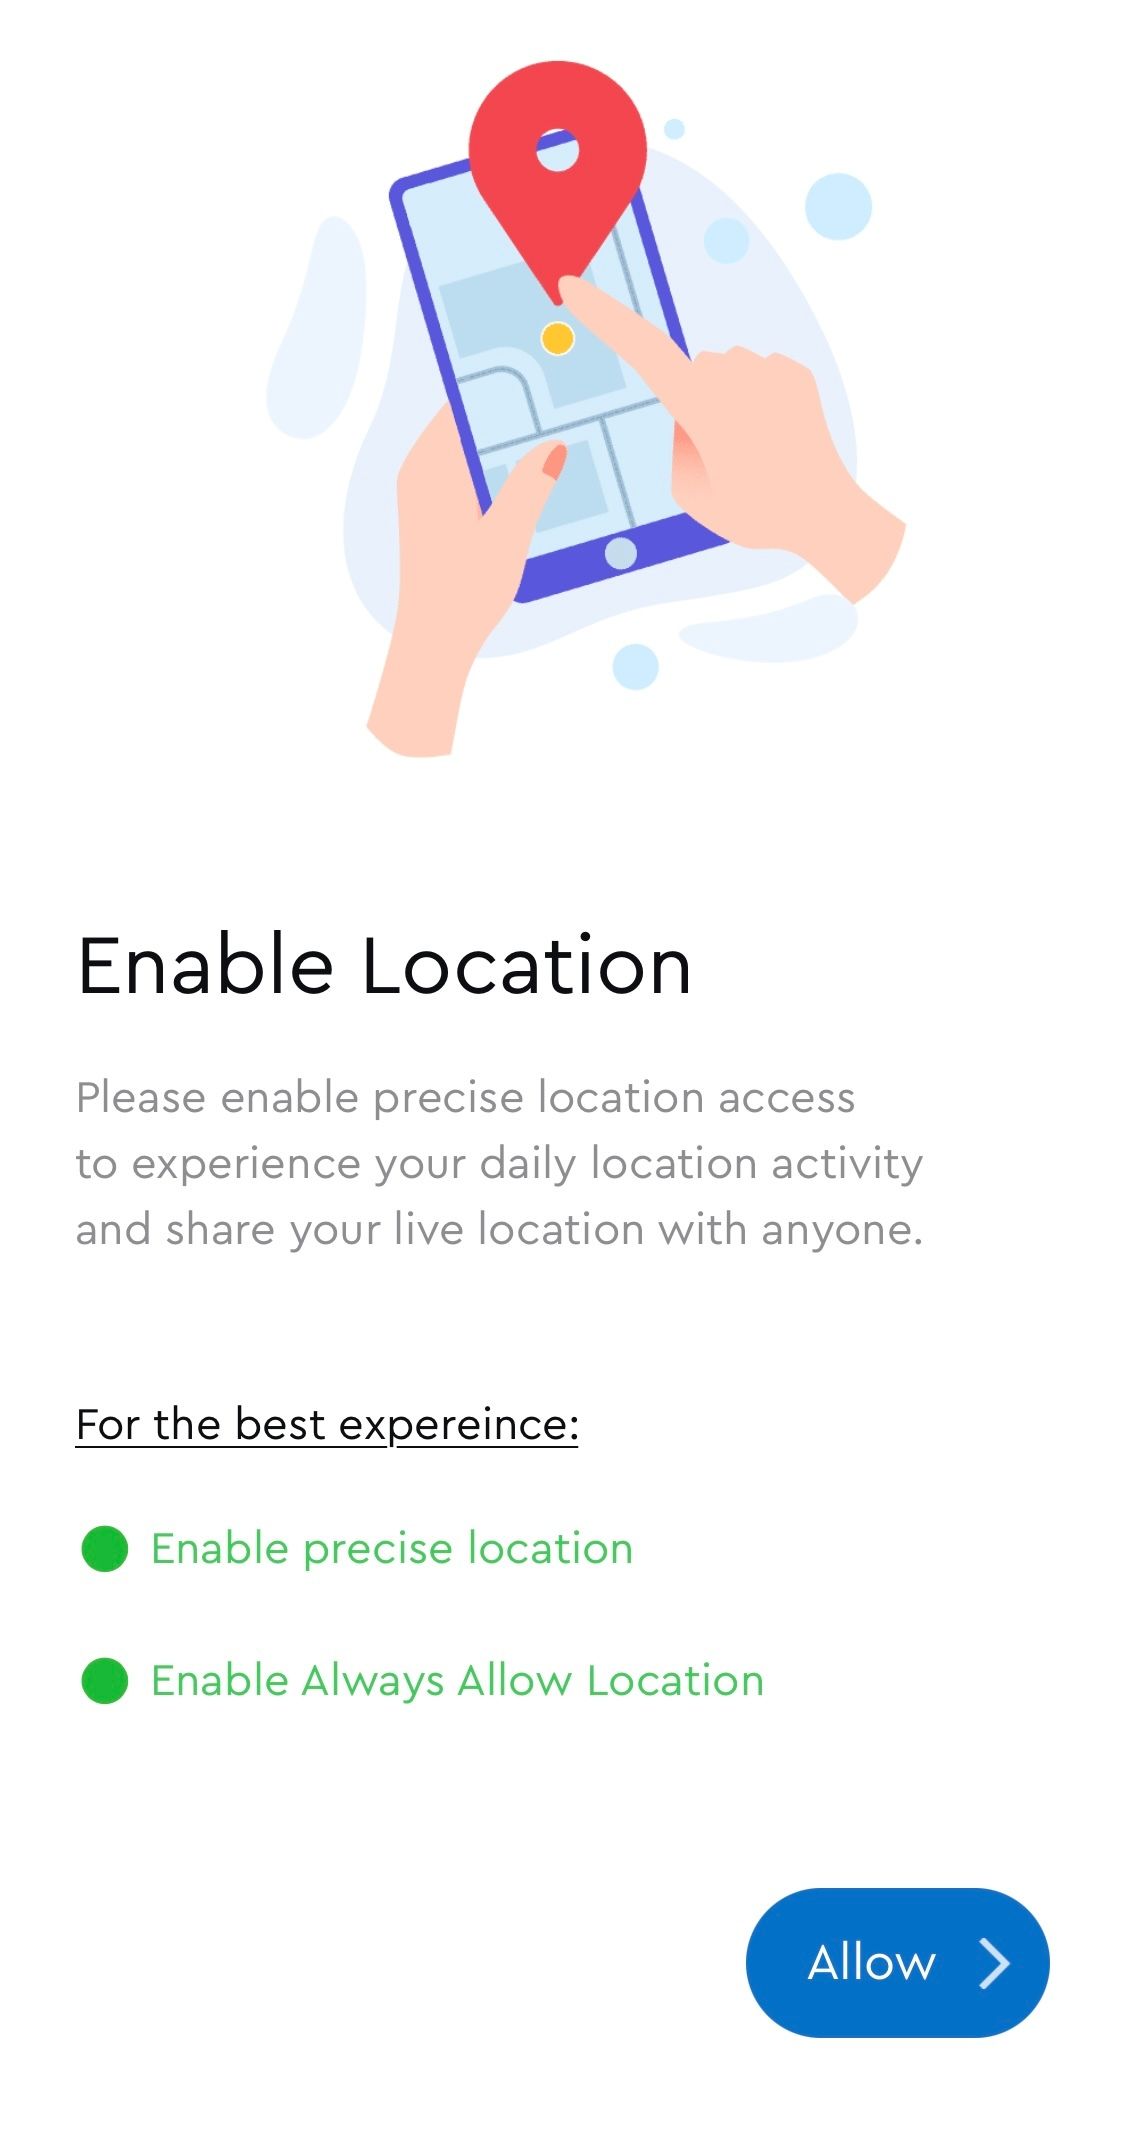
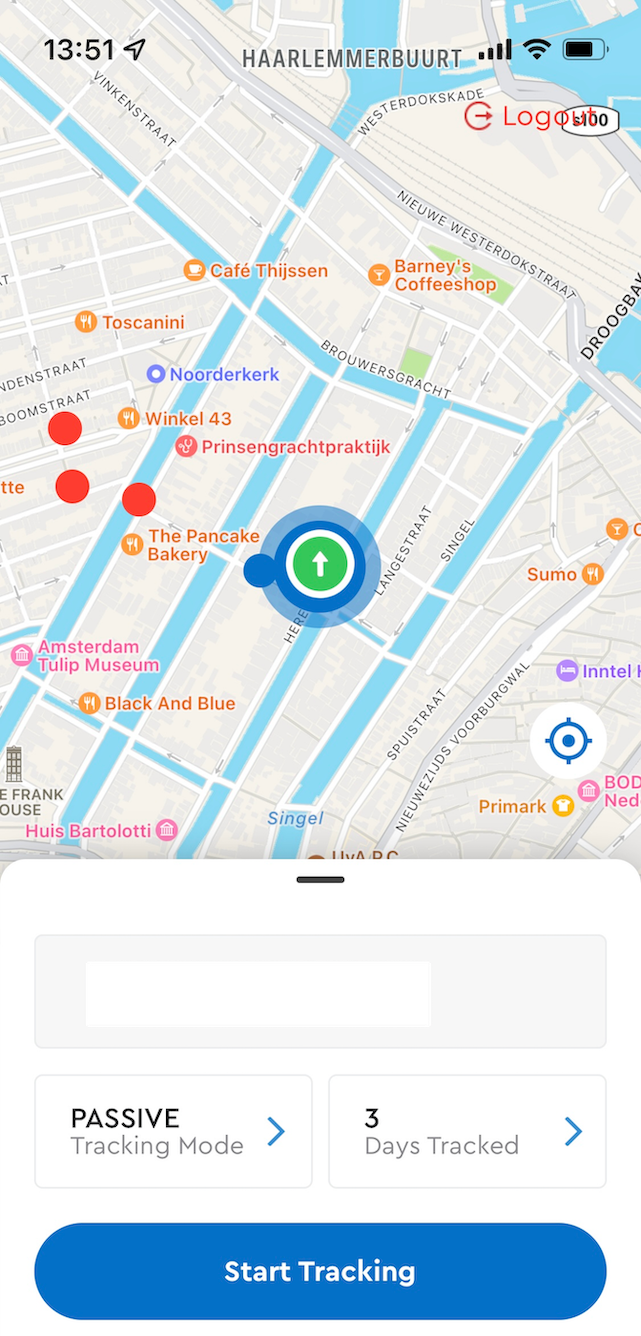
Start tracking
Once you have enabled the location tracking, you'll be able to track your daily location activity and share your live location with anyone